One Stop Shop For All Your Electronics Needs!

If you are an electronics enthusiast or just starting your journey into the world of electrical engineering, one tool you are bound to encounter is the oscilloscope. This unique tool is indispensable for the diagnosis of electrical signals, problem detection, and understanding waveforms. Especially, you are working with simple or complex signals, the ability to operate an oscilloscope in a proper way will be a useful feature. Knowing how to use an oscilloscope is going to prove incredibly important for you, and ProbusISA is here to help! Let us begin from the basics.
An oscilloscope is a tool that displays electrical signals over time. The vertical (Y-axis) represents voltage, and the horizontal (X-axis) indicates time. By doing this, it creates a waveform that you can observe in real-time, making it easier to analyze the behavior of electrical signals.
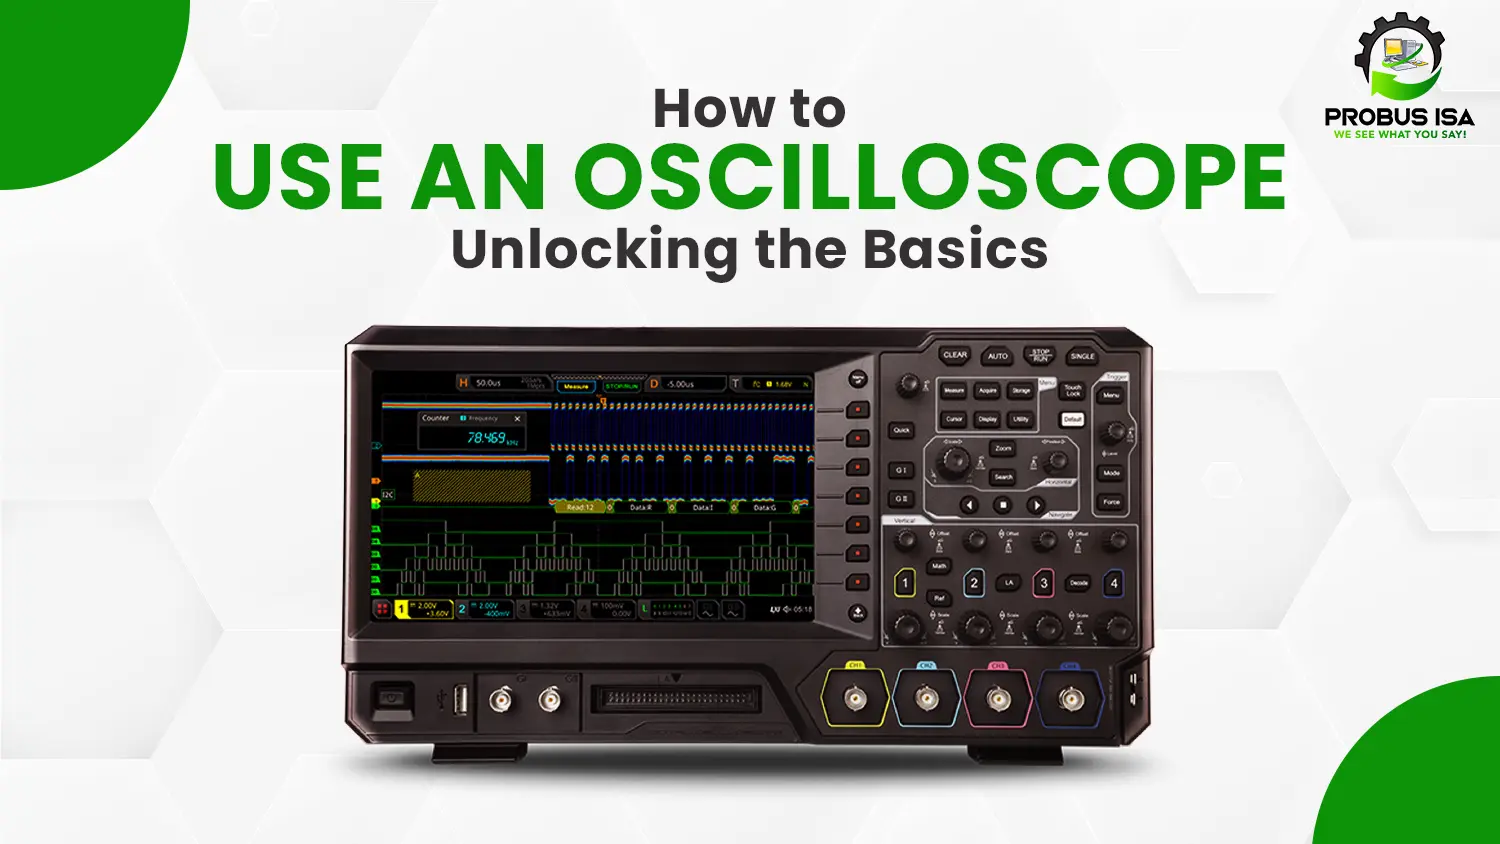
An oscilloscope is made up of several important parts. The display screen is where the waveform of the electrical signal is displayed. The probes are the thing that connects the oscilloscope to the circuit under test, allowing it to measure the voltage. The time base adjusts time on the x-axis, while the voltage scale controls how the amplitude of the signal is displayed on the y-axis.
Setting up an oscilloscope while learning how to use an oscilloscope may seem difficult, but once you understand the process, it becomes straightforward.
Start by attaching the oscilloscope probe to the input channel of the oscilloscope. The probe consists of two parts: the signal lead and the ground clip. Connect the signal lead to your desired circuit point for signal measurement. connect the ground clip to a common ground in the circuit. Good grounding is important in measuring accurately.
After connecting the probe, turn on the oscilloscope by pressing the power button. The screen will usually show a grid of horizontal and vertical lines, which represent time and voltage divisions. This grid provides a reference for reading the waveform.
You will need to work on the time base and voltage scale to get your signal to show up in the best way. Time base is the scale that tells how much time is pictured in each horizontal division. That way, you can see the whole signal that is actually occupying the time interval. The voltage scale controls the sensitivity of the oscilloscope, determining how much voltage each vertical division represents. Adjusting these settings lets you optimize the display for the signal you are measuring.
When you complete setting up your oscilloscope, the wave of the electric signal will show on the screen. Understanding how to read this waveform when figuring out how to use an oscilloscope is the first challenge.
The height of the waveform (the vertical dimension of the waveform) is the signal’s voltage. A greater waveform height corresponds to a higher voltage level. The period is the time it takes for the signal to complete one full cycle, and it is measured by the distance between two peaks or troughs of the waveform. The frequency is the number of cycles the signal completes in one second and is the inverse of the period. For example, if the period is 1 ms (milliseconds), the frequency is 1 kHz.
There might be times when it is difficult to see the waveform, for example, if the wave is too small or keeps moving. Fortunately, by setting the correct values, the oscilloscope will always display precisely the same trace on the screen. You can do it along the way using several switches.
Triggering is one of the most important adjustments. When you have set the waveform to trigger, the jiggling of the display screen will be minimized. It will not be shifting or rolling continuously all the time, allowing you to get an accurate reading. In the absence of the so-called trigger, the wave might be represented in such a way that makes the analysis process something of a nightmare. It is common to be able to modify the trigger level and trigger type on most oscilloscopes to have a good view.
When using the positioning controls, you can move the waveform up and down. This could be very important to you especially if you need to see the particular part of the waveform where it is not clear. You can use the zoom feature to enlarge a particular part, if you prefer to have a close-up look at some areas of the signal.
Oscilloscopes have different controls that you can adjust to your needs. The Time/Div control’s main function is to set the time per division on the horizontal axis, which in turn will zoom in or zoom out the waveform. Furthermore, Volt/Div control varies the voltage per division on the vertical axis, making the oscilloscope more or less sensitive to the amplitude of the signal.
Trigger controls give you the power to fix waveform stability, which in turn will bring about a clear and steady display. Moreover, the channel controls allow you to choose which input channel (CH1, CH2, etc.) you want to see on the screen. This method is practical in case of several measurements that are done at the same time.
If you are new to using an oscilloscope and learning how to use an oscilloscope, here are a few tips to help you get started:
At first, using an oscilloscope can prove overwhelming, however, once you are over the hump, it will turn into a valuable tool for people working with electronics. Firstly, get familiarized with the components and settings that are basic, and then proceed to learn advanced methods that are only feasible if you have gained confidence and experience. By understanding how to set up the oscilloscope, adjust the controls, and read the waveforms, you shall be well on your way to mastering this important instrument.
Probus ISA provides researchers and enthusiasts with the essential hardware to run OSCILLOGOAT™ software.