One Stop Shop For All Your Electronics Needs!
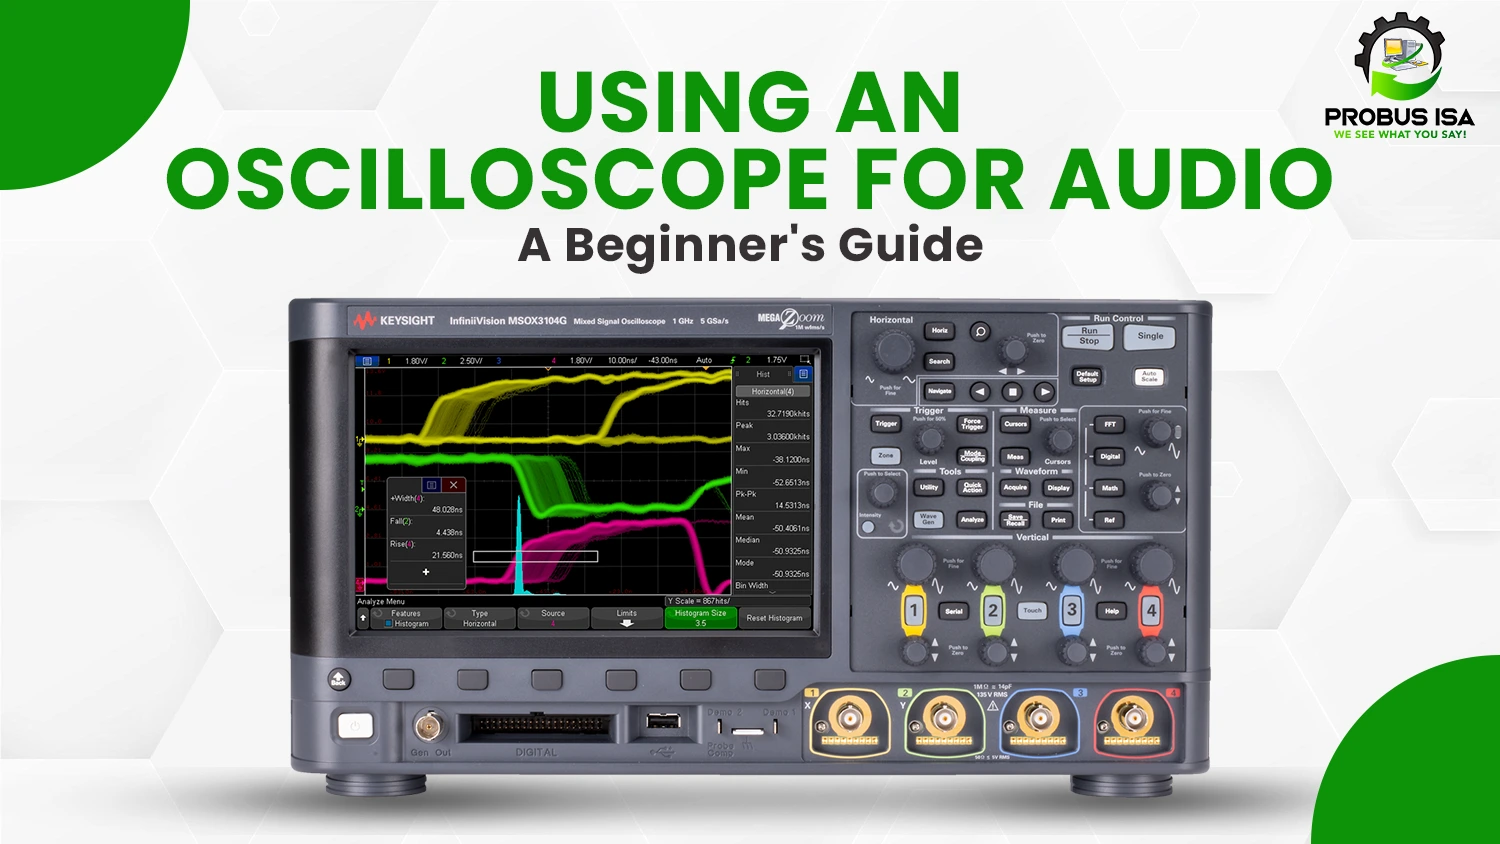
An oscilloscope is a tool that can help you ascertain audio signals with waveform visualization and check for distortion in audio circuits. But how does an oscilloscope display these intricate wave shapes and frequencies? The answer is through sound and music, which converts them into visual waveforms.
The oscilloscopes analyze these sound characteristics by displaying the frequency as the arrangement of waves and amplitude. Let’s cover everything you need to know about using an oscilloscope for audio analysis with Probus ISA.
Oscilloscopes were first developed in the early 20th century for general-purpose electrical signal analysis. Early models used analog technology in the CRT to represent waveforms.
Although very clunky, these early devices were well-suited for representing electrical signals, including audio waveforms.
The modern version now has advanced DSP capabilities in audio engineering. That includes real-time spectrum analysis, harmonic distortion detection, and phase correlation measurements.
As of today, using an oscilloscope for audio analysis has become a necessity across industries, including music production, telecommunications, consumer electronics, biomedical research, and acoustics engineering.
Simply put, sound waves are periodic distortions caused by the frequency and amplitude of sound waves, creating sound. If these signals are represented graphically on an oscilloscope, they display as a waveform, which can then be analyzed in detail for shape and movement.
The different types of waveforms have found many applications within electronic music and audio synthesis. Through analysis of the shape of these waveforms, audio professionals can assess sound quality, the presence of distortions, and better understand the characteristics of different signals.
Oscilloscopes measure changes in voltage over time.
The horizontal axis shows time, and the vertical axis shows the amplitude or strength of the signal. The triggering system keeps the waveform stable so it doesn’t move around.
The best part is that you can adjust the time scale, voltage scale, and coupling to optimize the view and see more details about the signal.
Sine waves are the most common waves in an oscilloscope. They are pure tones with no harmonics that describe smooth, periodic oscillation. They are used as test tones for calibrating audio equipment.
This is a non-sinusoidal waveform, which refers to a waveform that is not sine-shaped or periodic. It contains odd harmonics and is widely used in synthesizers and digital audio.
A waveform that appears in a triangle shape. It results from circuits that are made to control voltages linearly. Triangle waves have less harmonic content than square waves, often used in modulation synthesis.
A complex waveform is a combination of waveforms that include all sine, square, triangle, and pulses to make one complex wave. It represents real-world sounds, such as musical instruments and voice recordings.
Oscilloscopes work by showing these waveforms over time, with the X-axis representing time and the Y-axis representing amplitude. The device’s triggering system helps stabilize waveforms for accurate analysis.
Oscilloscopes are very useful tools for beginners or sound engineers working in electronics. Choosing the proper types of oscilloscope will greatly help in viewing precise waveforms for signal integrity checkups, ensuring high-quality audio.
The first major decision you are going to make when selecting an oscilloscope for audio analysis is whether you want to select an analog oscilloscope or a digital one. Both have different working capabilities, depending on what you’re trying to measure.
Analog oscilloscopes display waveforms continuously in real time. They are simple to use but will provide a true output of the input signal that does not have any kind of digital processing delay or delay of any computer. However, some of the limitations of analog oscilloscopes are as follows:
Analog oscilloscopes are used largely for waveform visualization and are not highly involved in elaborate signal-processing applications.
They do not allow waveforms to be stored and reexamined later for easier analysis or cross-reference.
These oscilloscopes are generally low in price and sufficient for just basic viewing of waveforms.
Digital oscilloscopes are analog signals converted to digital and stored for analysis. They have high flexibility and great features, more so suited to modern audio work:
This is a unique feature of the digital oscilloscope since one can capture waveforms over time for analysis.
Many digital oscilloscopes can perform multiple waveform comparisons, use math functions, and even frequency-domain representations.
Generally, digital oscilloscopes measure more accurately than analog oscilloscopes because sampling is better.
Most modern DSOs have USB, Ethernet, or Bluetooth connectivity that enables the possibility of analyzing waveforms on a computer.
The bandwidth of an oscilloscope determines the range of frequencies it can accurately measure. The right bandwidth ensures that your oscilloscope captures all relevant details of an audio signal without distortion or loss of information.
Basic audio analysis requires a bandwidth of at least 20 kHz in order to equal the human audible upper limit, but a bandwidth higher than 20 kHz is usually required and hoped for since more may be contained:
The sampling rate of an oscilloscope is how often it takes a data point from an analog signal. A high sampling rate allows for a better digital representation of the waveform.
The sampling rate for audio signals should be at least 100 kS/s, which is equivalent to 100,000 samples per second. Still, the more accurate the waveform and its detail, the better the sampling rate.
Many newer oscilloscopes contain connection features to transmit waveform information for further study and analysis at the computer level. When making your selection of oscilloscope models, choose an oscilloscope that features either of the following:
If you require more intricate analysis, consider an oscilloscope that supports excellent software integration.
To study an audio signal, you need to properly set up the oscilloscope and adjust it so that readings are accurate.
When analyzing a line-level signal from a mixer, audio interface, or sound card, you might connect the oscilloscope probe directly to the output jack. To analyze microphone or speaker signals, you might require connecting a preamplifier or voltage attenuator so that the signal falls within the input range of the oscilloscope.
Time Base Scaling: Begin at 1 ms/div, then raise as necessary in order to achieve a visible waveform.
Start out at that range such that the waveform fits within the screen and does not appear to be clipping across.
Select the edge trigger on the rising or falling slope for maximum stability of the waveform trace.
Set coupling to AC to filter DC offsets and focus on the audio signal.
Observe the shape, frequency, and amplitude of the waveform. Adjustments to the audio system may be necessary if distortion or noise is detected.
One of the most interesting things about using an oscilloscope for audio is seeing live sound waves.
Musicians, sound designers, and engineers use oscilloscopes for audio to analyze different types of waveforms, from smooth sine waves to complex, modulated sounds.
The audio professional may compare waveforms to adjust synthesizer settings or mix audio tracks toward the sound quality desired.
Oscilloscopes enable the accurate measurement of frequency, which is very important for instrument tuning, synthesizer calibration, and the design of digital filters.
Measuring the time interval between peaks on the waveform will give you the frequency by using the following formula:
Frequency (Hz) = 1/Period (seconds)
Frequency (Hz) = Period (seconds)/1
For example, if the waveform takes 2 ms to cycle back around, then the audio frequency oscilloscope is:
1/0.002 = 500 Hz
0.002/1 = 500 Hz
This feature is also useful in the production of music when proving the pitch of recorded sounds or synthesizing specific frequencies for experimental audio work.
Phase compatibility is critical for stereo recordings, or one will experience unintended cancellation or enhancement of specific frequency ranges, rendering the audio mix unbalanced. Using a two-channel oscilloscope, engineers can compare the phase relationship between the left and right channels.
Distortion is one of the common problems that may occur in an audio system, either from excessive amplifier gain, poor-quality components, or incorrect signal routing. An oscilloscope can help detect distortion by revealing waveform abnormalities.
Audio equipment to be tested or calibrated in conjunction with oscilloscopes are speakers, amplifiers, microphones, and digital audio interfaces. In fact, through the injection of test tones into the system and subsequent output waveform analysis, engineers can be assured that there is frequency response, absence of signal anomalies, and constant performance.
The oscilloscope displays the existence of not only signals but also their frequency and wavelength. Be it a microphone, amplifier, or speaker, these are easy-to-follow steps which will surely come out right for you when operating an oscilloscope.
Before you start, ensure that you have all the necessary equipment. An oscilloscope and an audio source, which can be a signal generator or a music player. Also, you need the appropriate probes or adapters to connect your device to the oscilloscope. Your source may need a 3.5mm audio jack adapter or RCA connectors.
Plug one oscilloscope probe into the audio signal source. If you’re testing a circuit, connect the probe to the output of an amplifier or preamp stage. Attach the probe’s ground clip to a proper ground point to avoid interference.
Turn on the oscilloscope and set the vertical scale (measured in volts per division). A good starting point is between 500 mV or 1V per division, and change it when needed. For the horizontal axis, adjust the time base so that the waveform is accurately captured, starting from 1 ms per division, and fine-tune it to get a clear display.
Now that your signal is displayed on the screen observe its shape and behavior. A clean sine wave should have smooth curves, while a square wave should have sharp edges. Any distortion, clipping, or noise will indicate the audio source or circuit is in a problem condition.
Using the oscilloscope’s measurement tools, you can measure the amplitude, frequency and many other characteristic values of your signal. In case your oscilloscope supports FFT, move into frequency domain analysis and investigate harmonic content as well as how clean the signal is.
If the waveform is too small or too large, you should adjust the vertical scale to zoom in or out. If it moves too fast or too slow, modify the time base. In case you get some unexpected distortions, it might be time to check your connections or try different points in the circuit.
You can also compare the waveform to a reference signal in order to check for problems of signal loss, phase shifts, or unwanted noise.
Most digital oscilloscopes offer saving or recording waveforms for later analysis. The data can be transferred from an oscilloscope to a personal computer, for example, via USB or network connections, for in-depth analysis using the software tools. This can be helpful for troubleshooting and comparing signals over time.
Even though an oscilloscope has its advantages, some problems may still arise during audio analysis.
Unstable Waveform Display
Weak or No Signal Detection
Excessive Electrical Noise
Distorted Waveform or Clipping
Oscilloscopes are essential for anyone working with audio. It is a way to precisely see, measure, and troubleshoot sound signals.
Using an oscilloscope for audio, professionals can improve their audio projects with greater trust by understanding the waveform, phase relationships, and distortion analysis.
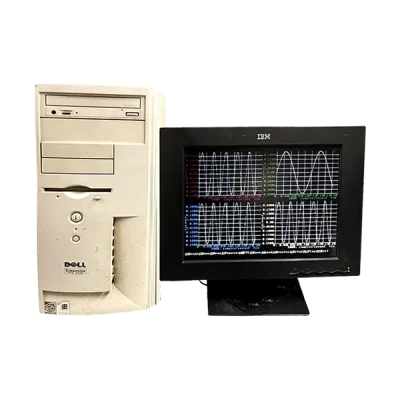
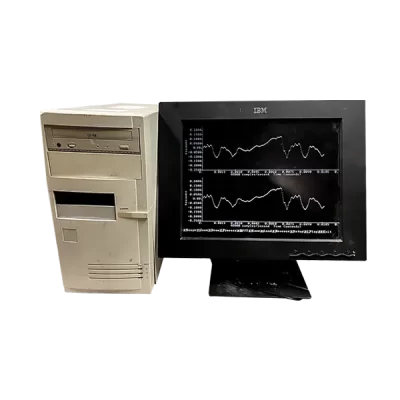
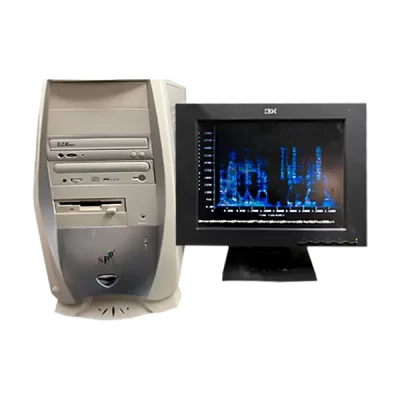
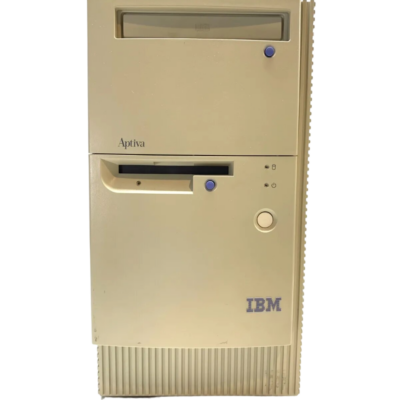
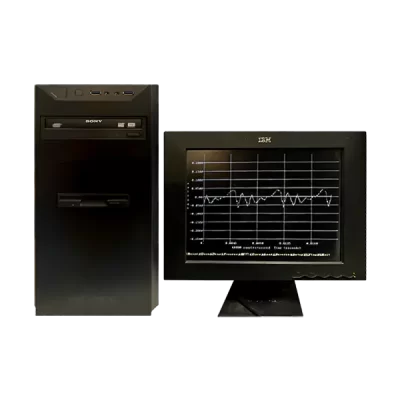
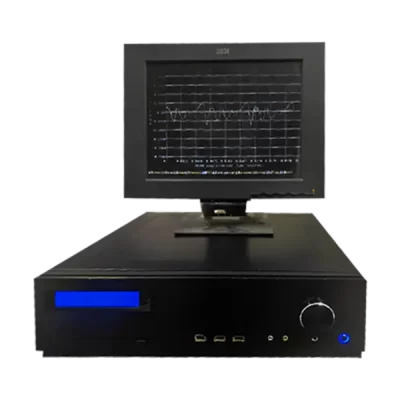
Check out our oscilloscope software, integrated with refurbished computers, to ensure perfect readings for every project. Check new possibilities in audio analysis and take all your research to its furthest.
Probus ISA provides researchers and enthusiasts with the essential hardware to run OSCILLOGOAT™ software.